The Salesforce CLI provides a powerful command line interface that allows you to retrieve and save code from your local machine to Salesforce, upload data to your Salesforce org, create scratch orgs, manage authentication with your Salesforce orgs, perform deployments, install packages, automate manual tasks, and much more.
However, when commands fail, the standard errors reported back aren’t always as detailed as you need. The aim of this blog post is to provide a couple of techniques that can assist in troubleshooting when commands fail and the reason is not obvious from the error message displayed in the interface.
1. Fine tune log levels to generate verbose logs
For any command that gets executed, one can fine-tune the log levels to generate more verbose logs (example: sfdx force:source:push –loglevel DEBUG). These logs are always stored in the location USER_HOME_DIR/.sfdx/sfdx.log. When the Default log level is ERROR, you can choose from the following options:
- ERROR
- WARN
- INFO
- DEBUG
- TRACE
These options in the listed order are cumulative. Meaning, when you choose the DEBUG level, the log file also includes messages at the INFO, WARN, and ERROR levels.

If you are on macOS, change the directory into the home directory using cd $HOME and then cd again to the .sfdx folder. You will find the sfdx.log file if you open the .sfdx folder. You can delete the sfdx.log file (note: do not delete other files as they carry important info and can break commands) and perform the command on the CLI and you will see the file is recreated with all the log details.
If using Windows, type %userprofile% which will show your home directory and then change the directory into it followed by cd into the .sfdx folder.
If you open the .sfdx.log file using your favorite text editor, there is a high possibility that you will find more verbose errors that can help troubleshoot further.
2. Get more details by retaining the metadata folder (along with package.xml) that gets generated
When a set of commands are run, Salesforce maintains a temporary directory of metadata along with package.xml. This folder is handy to retry failing deployments if the fix lies in modifying one of these metadata xml files. Typically, the folder is automatically deleted. However, retaining this folder comes handy in troubleshooting.
The following commands result in the metadata xml generation:
force:source:deployforce:source:retrieveforce:source:deleteforce:source:pushforce:source:pullforce:source:convertforce:org:create(if your scratch org definition contains scratch org settings, not org preferences)
To enable retaining the folder, set the environment variable for the project.
How to Set environment Variables
For MacOS, if you want to set the environment variable for the session, type the following in the terminal:
export SFDX_MDAPI_TEMP_DIR=/users/myName/myDXProject/metadata
Note that here /users/myName/myDXProject is your DX Project path.
If you want to set the path permanently then you will need to add this to your .bash_profile directory by following these steps:
- In your terminal, run nano ~/.bash_profile
- Add your environment variable
export SFDX_MDAPI_TEMP_DIR=/users/myName/myDXProject/metadata
- CTRL+X to exit the Nano editor and make sure you save your changes. Do not forget to reopen the terminal so your changes apply.
If you are a Windows user, set the environment variables by following these instructions from here.
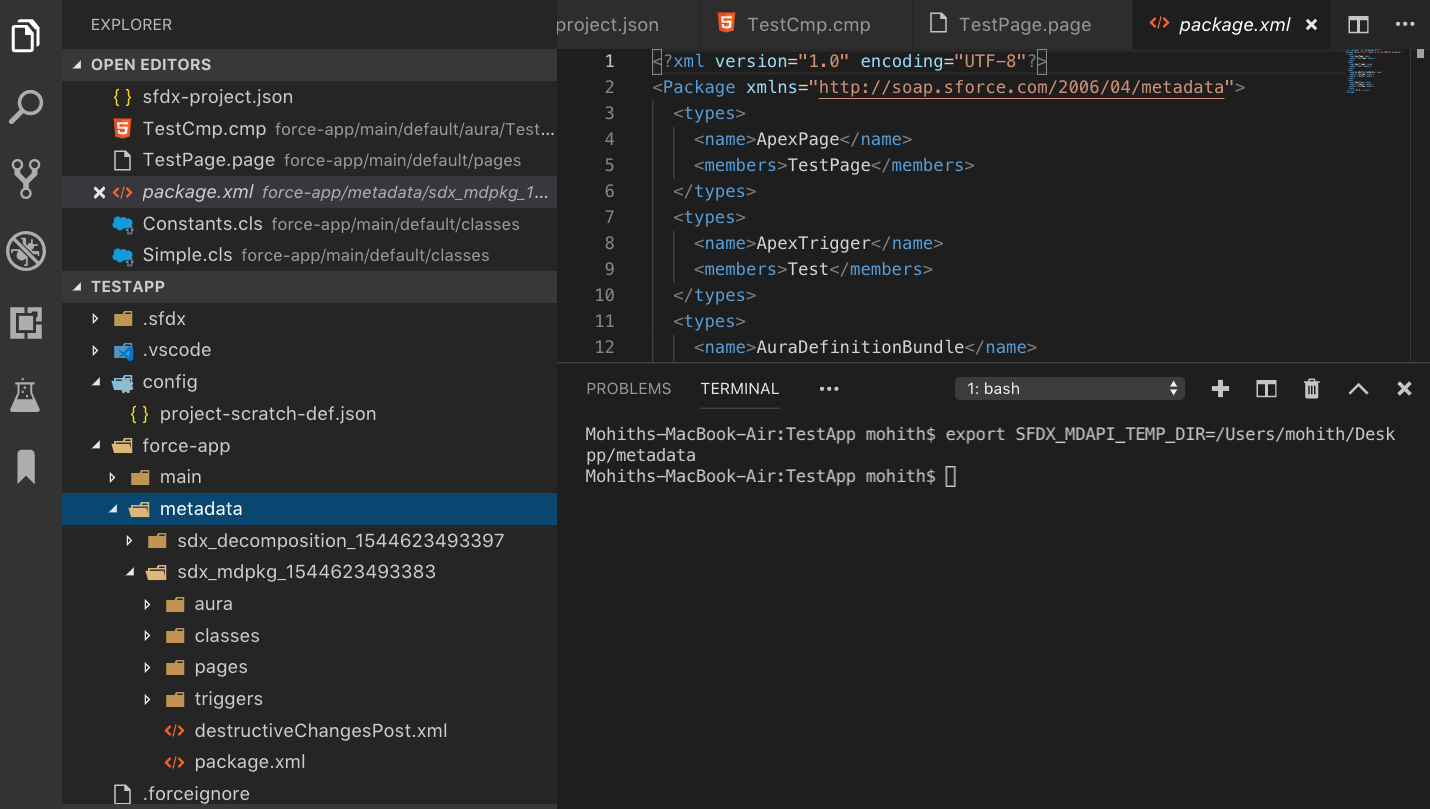
The screenshot below shows the metadata folder that has all the details where the environment variable is configured to retain the metadata.
Note: Sometimes you might run into actual CLI bugs that you should report to the Salesforce CLI team either by raising a support case or posting at salesforce.stackexchange.com.
Check an example of a bug that the community identified and Salesforce thankfully fixed once we brought it to its attention.
Our dev teams specialize in bringing products to the AppExchange — fast. Learn more at www.codescience.com/services.